The Quest for the Perfect Pão de Queijo
Cheese Puffery Part IV

Drawn to Norwegian Noir, somber Swedish art, Marimekko designs and Moomintrolls, I often stopped by Scandinavia House, the cultural center run by the American Scandinavian Foundation. Yet when I discovered SH hosts a knitting group twice monthly, I became a member and a regular attendee for the past two years. Our Scandi knitting group epitomizes two things I love about New York City. 1) That in a city outsiders brand as forbidding or overwhelming there are niches of gemütlichkeit that flourish even (as our knitting group does) in the unlikeliest of places, such as the glossy, glassy towers of midtown Park Avenue. 2) Diversity. While our group may ooh and aah over Icelandic Lopi sweaters or aspire to the ultimate in knitting derring-do, the Norwegian sweater steek, we are Chinese, New York Jewish, Italian, Russian, Australian, Brazilian, Slovakian, Japanese and yes Icelandic and more. The proximity of United Nations' employees is one reason our group draws from the world over. In any event, I love the lilt of different languages and accents that accompany the click of our knitting needles.
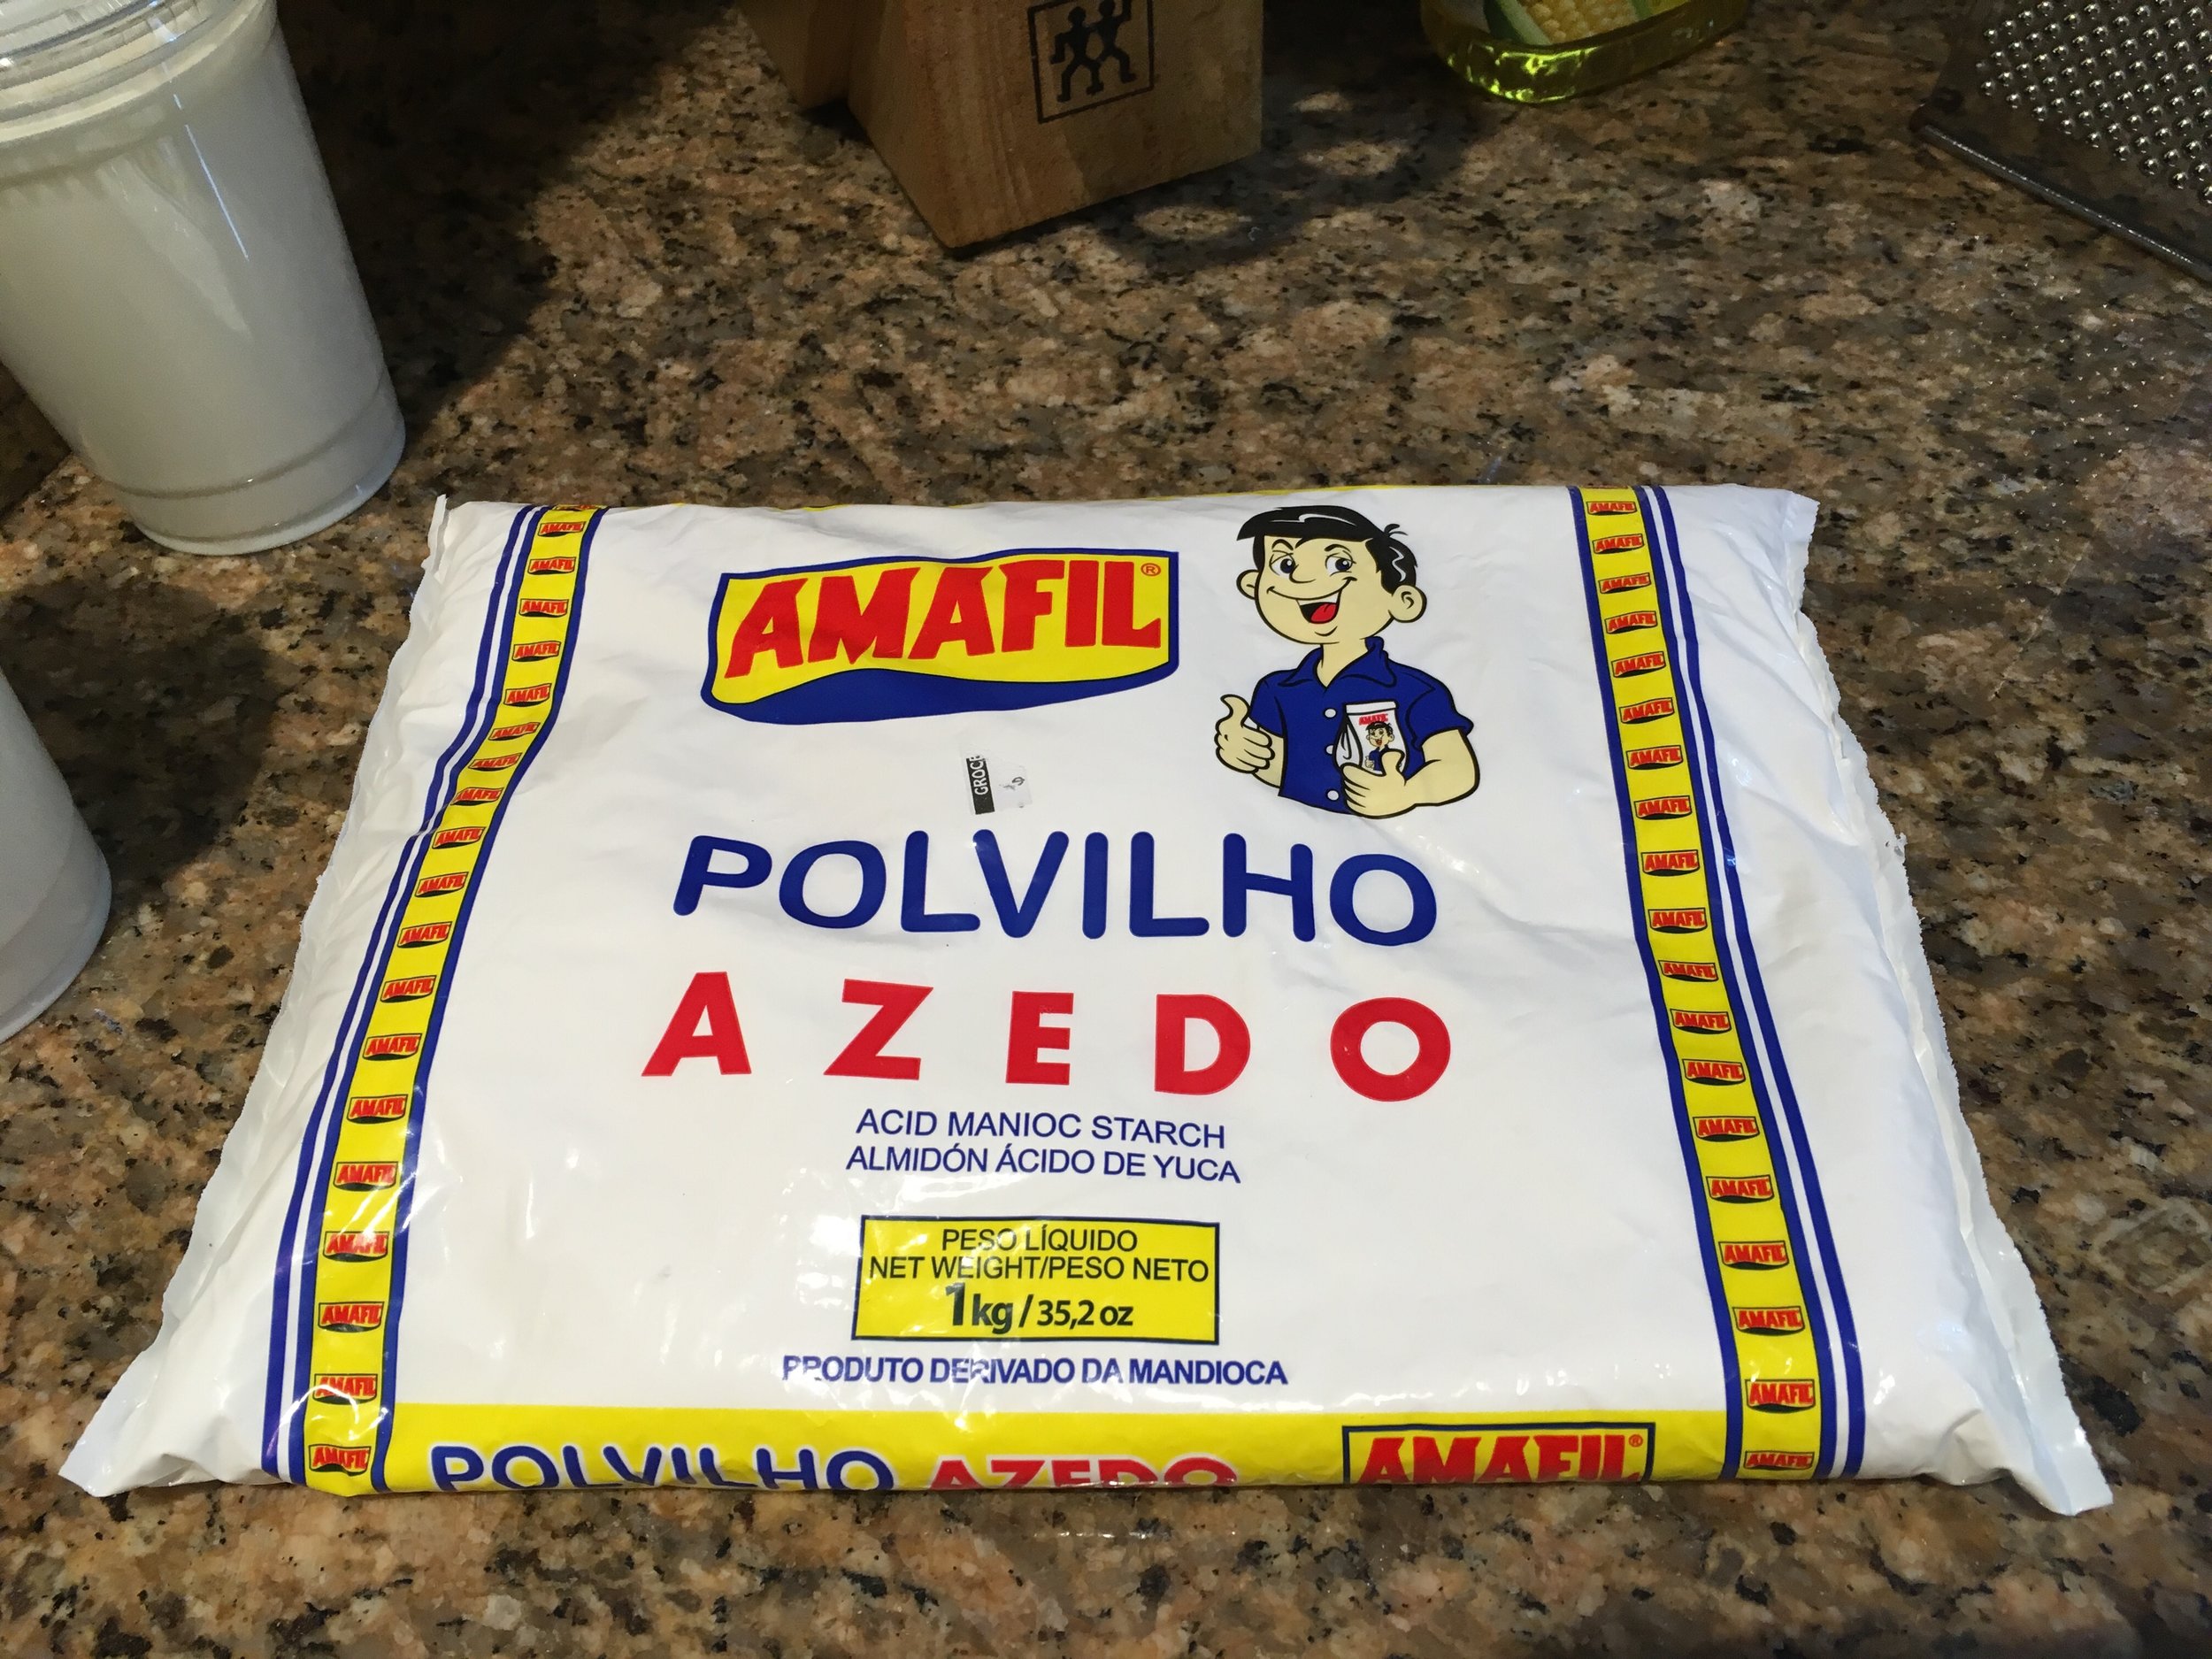
And I love the ethnic baked goods members bring to our low-key holiday gathering in December. At this past one there were pencil-thin breadsticks from Brazilian Tina Luisa, which were crispy on the outside and cheesy and chewy on the inside. Tina Luisa told me they were made from cassava flour, the same flour used to make the naturally gluten-free pão de queijo. She told me both the breadsticks and the cheese puffs were incredibly easy to make, and what’s more, she promised to bring me the requisite cassava flour from a Brazilian market in Queens, lest I be tempted to use Bob’s Red Mill Tapioca Flour. (“NO!” she told me sternly when I suggested this.)
So at our next meeting I had two sacks of cassava flour, “doce” (sweet) and “azedo” (sour), along with a recipe dictated by Tina Luisa and her cell number, which was to prove crucial during my first breadstick attempt...pictured here:


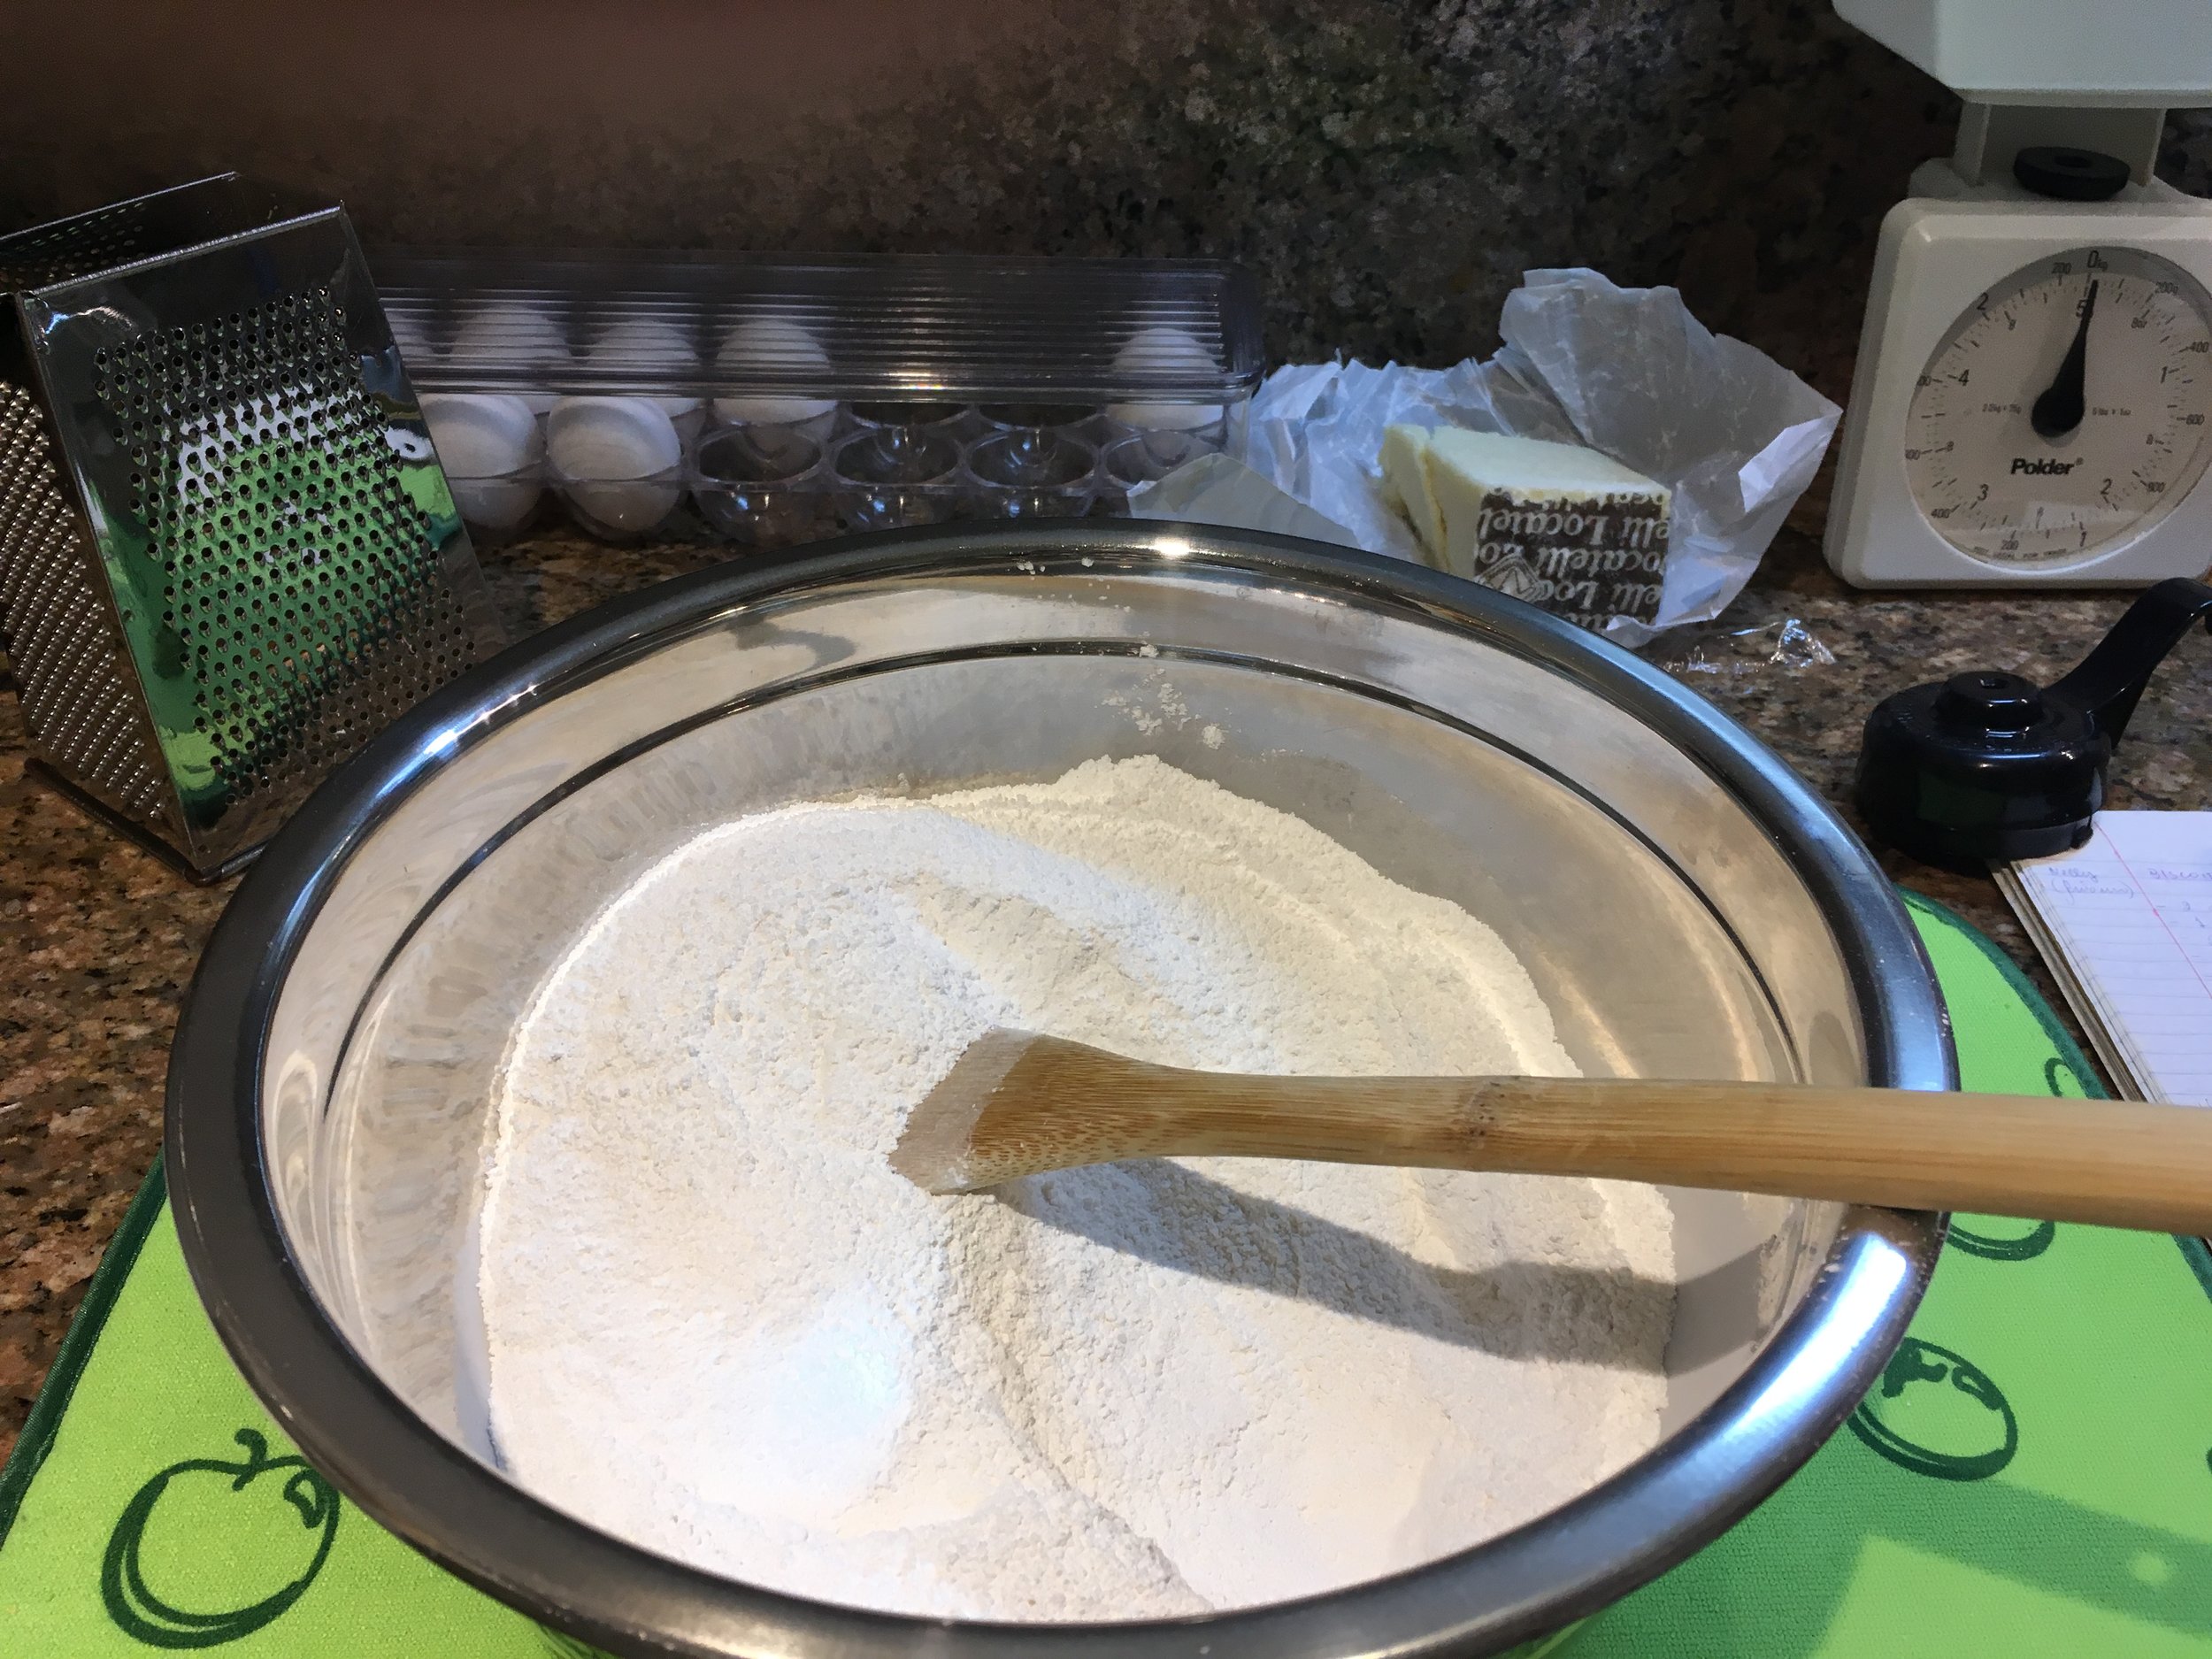
There are two things to be aware of when using cassava flour and making the breadsticks. Cassava flour has a consistency like cornstarch. I advise you to shake the bag so the contents settle at the bottom, snip a small corner off the top, and pour into measuring cups placed in your sink; otherwise your kitchen will look like you’re in a snow storm! Also, the dough for the breadsticks is meant to be extruded from a pastry tube. I improvised with a baggy, with a tiny corner clipped off. I clumsily tried to get the sticky dough from bowl to baggy and I got as much dough all over my hands as I did on the tray in the process of extruding. If you’re serious: buy a pastry tube, and you will get the neat, pencil-thin product that Tina Luisa brought us. But, hey, my puffy, lumpen sticks tasted great and this could be a good activity to do with a child who exults in making a mess!
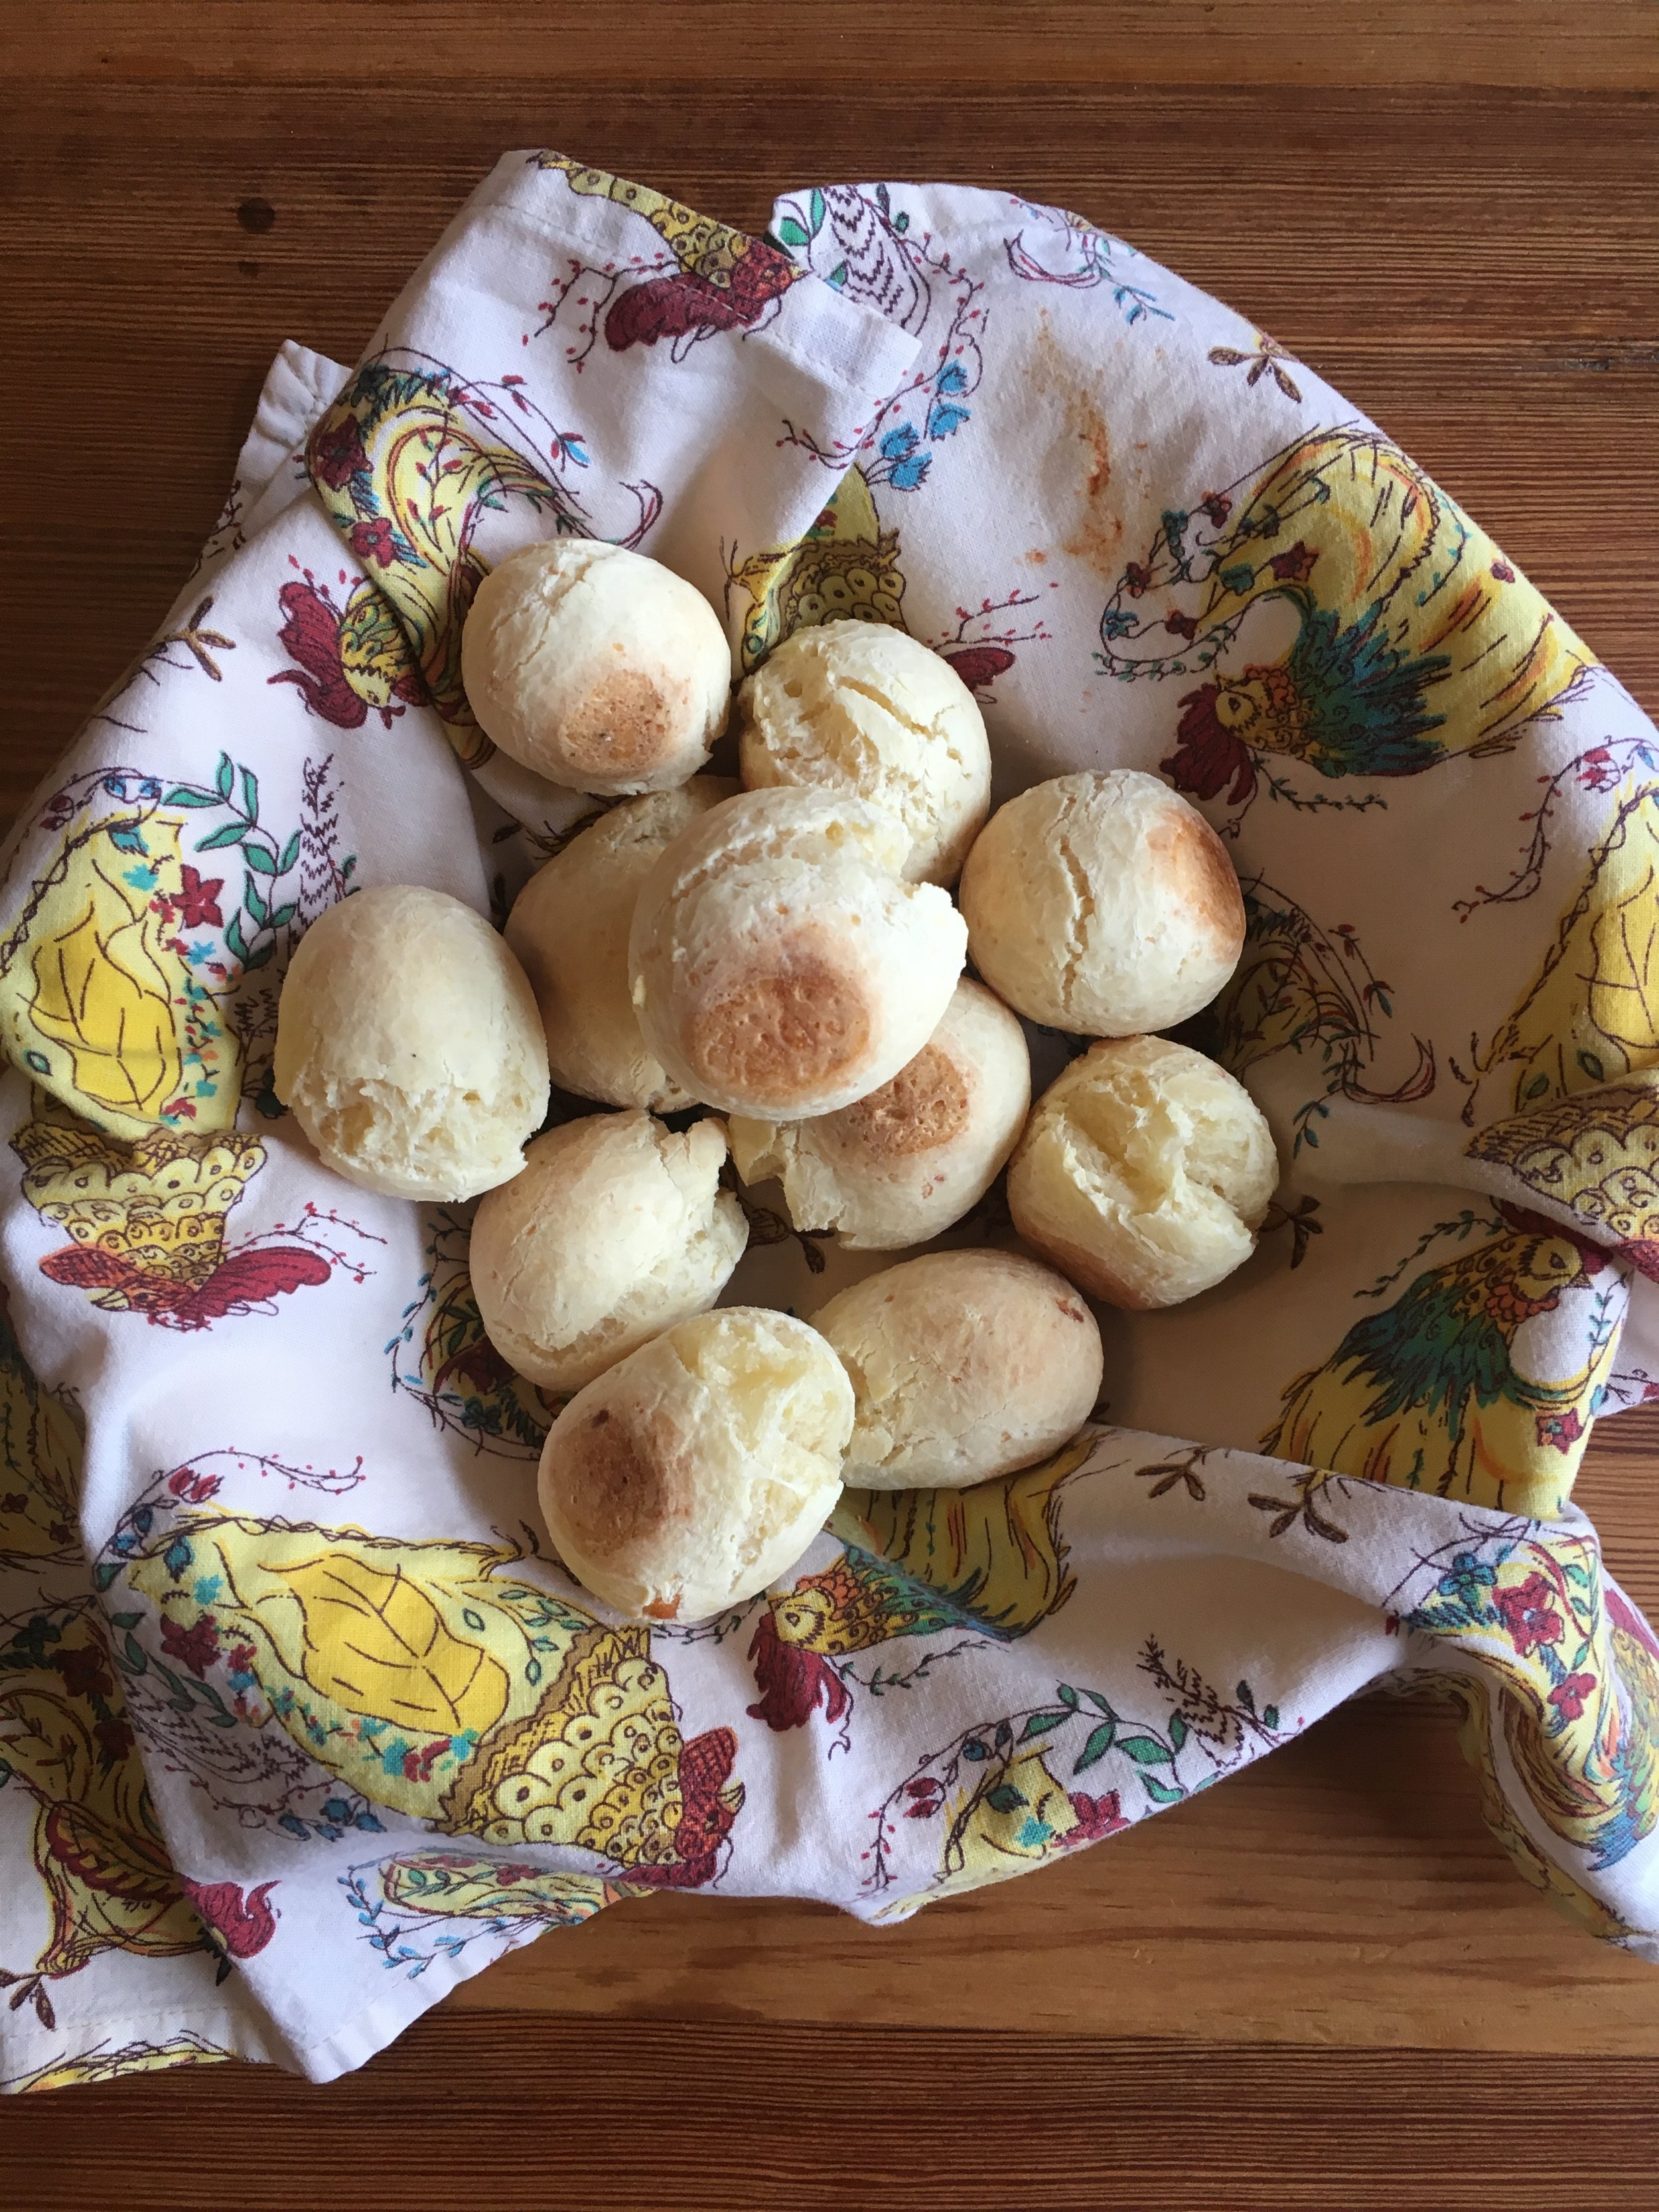
All is "Tudo Bem" When Baking Pão de Queijo
Perhaps because she was alarmed at the pictures of my lumpen breadsticks, but also because I was so insistent on wanting to learn how to make the ultimate in cheese puffery--the pão de queijo (pronounced "pow day kay-ho"), Tina Luisa extended an invitation to learn in her home just a block from Scandinavia House, an hour before our meeting. I readily agreed, so taken, again, with the gemütlichkeit of our group, that a virtual stranger would invite me over to cook in her kitchen. I showed up at her lovely apartment and was immediately given an apron and ushered inside the tiny but totally immaculate and serviceable kitchen.
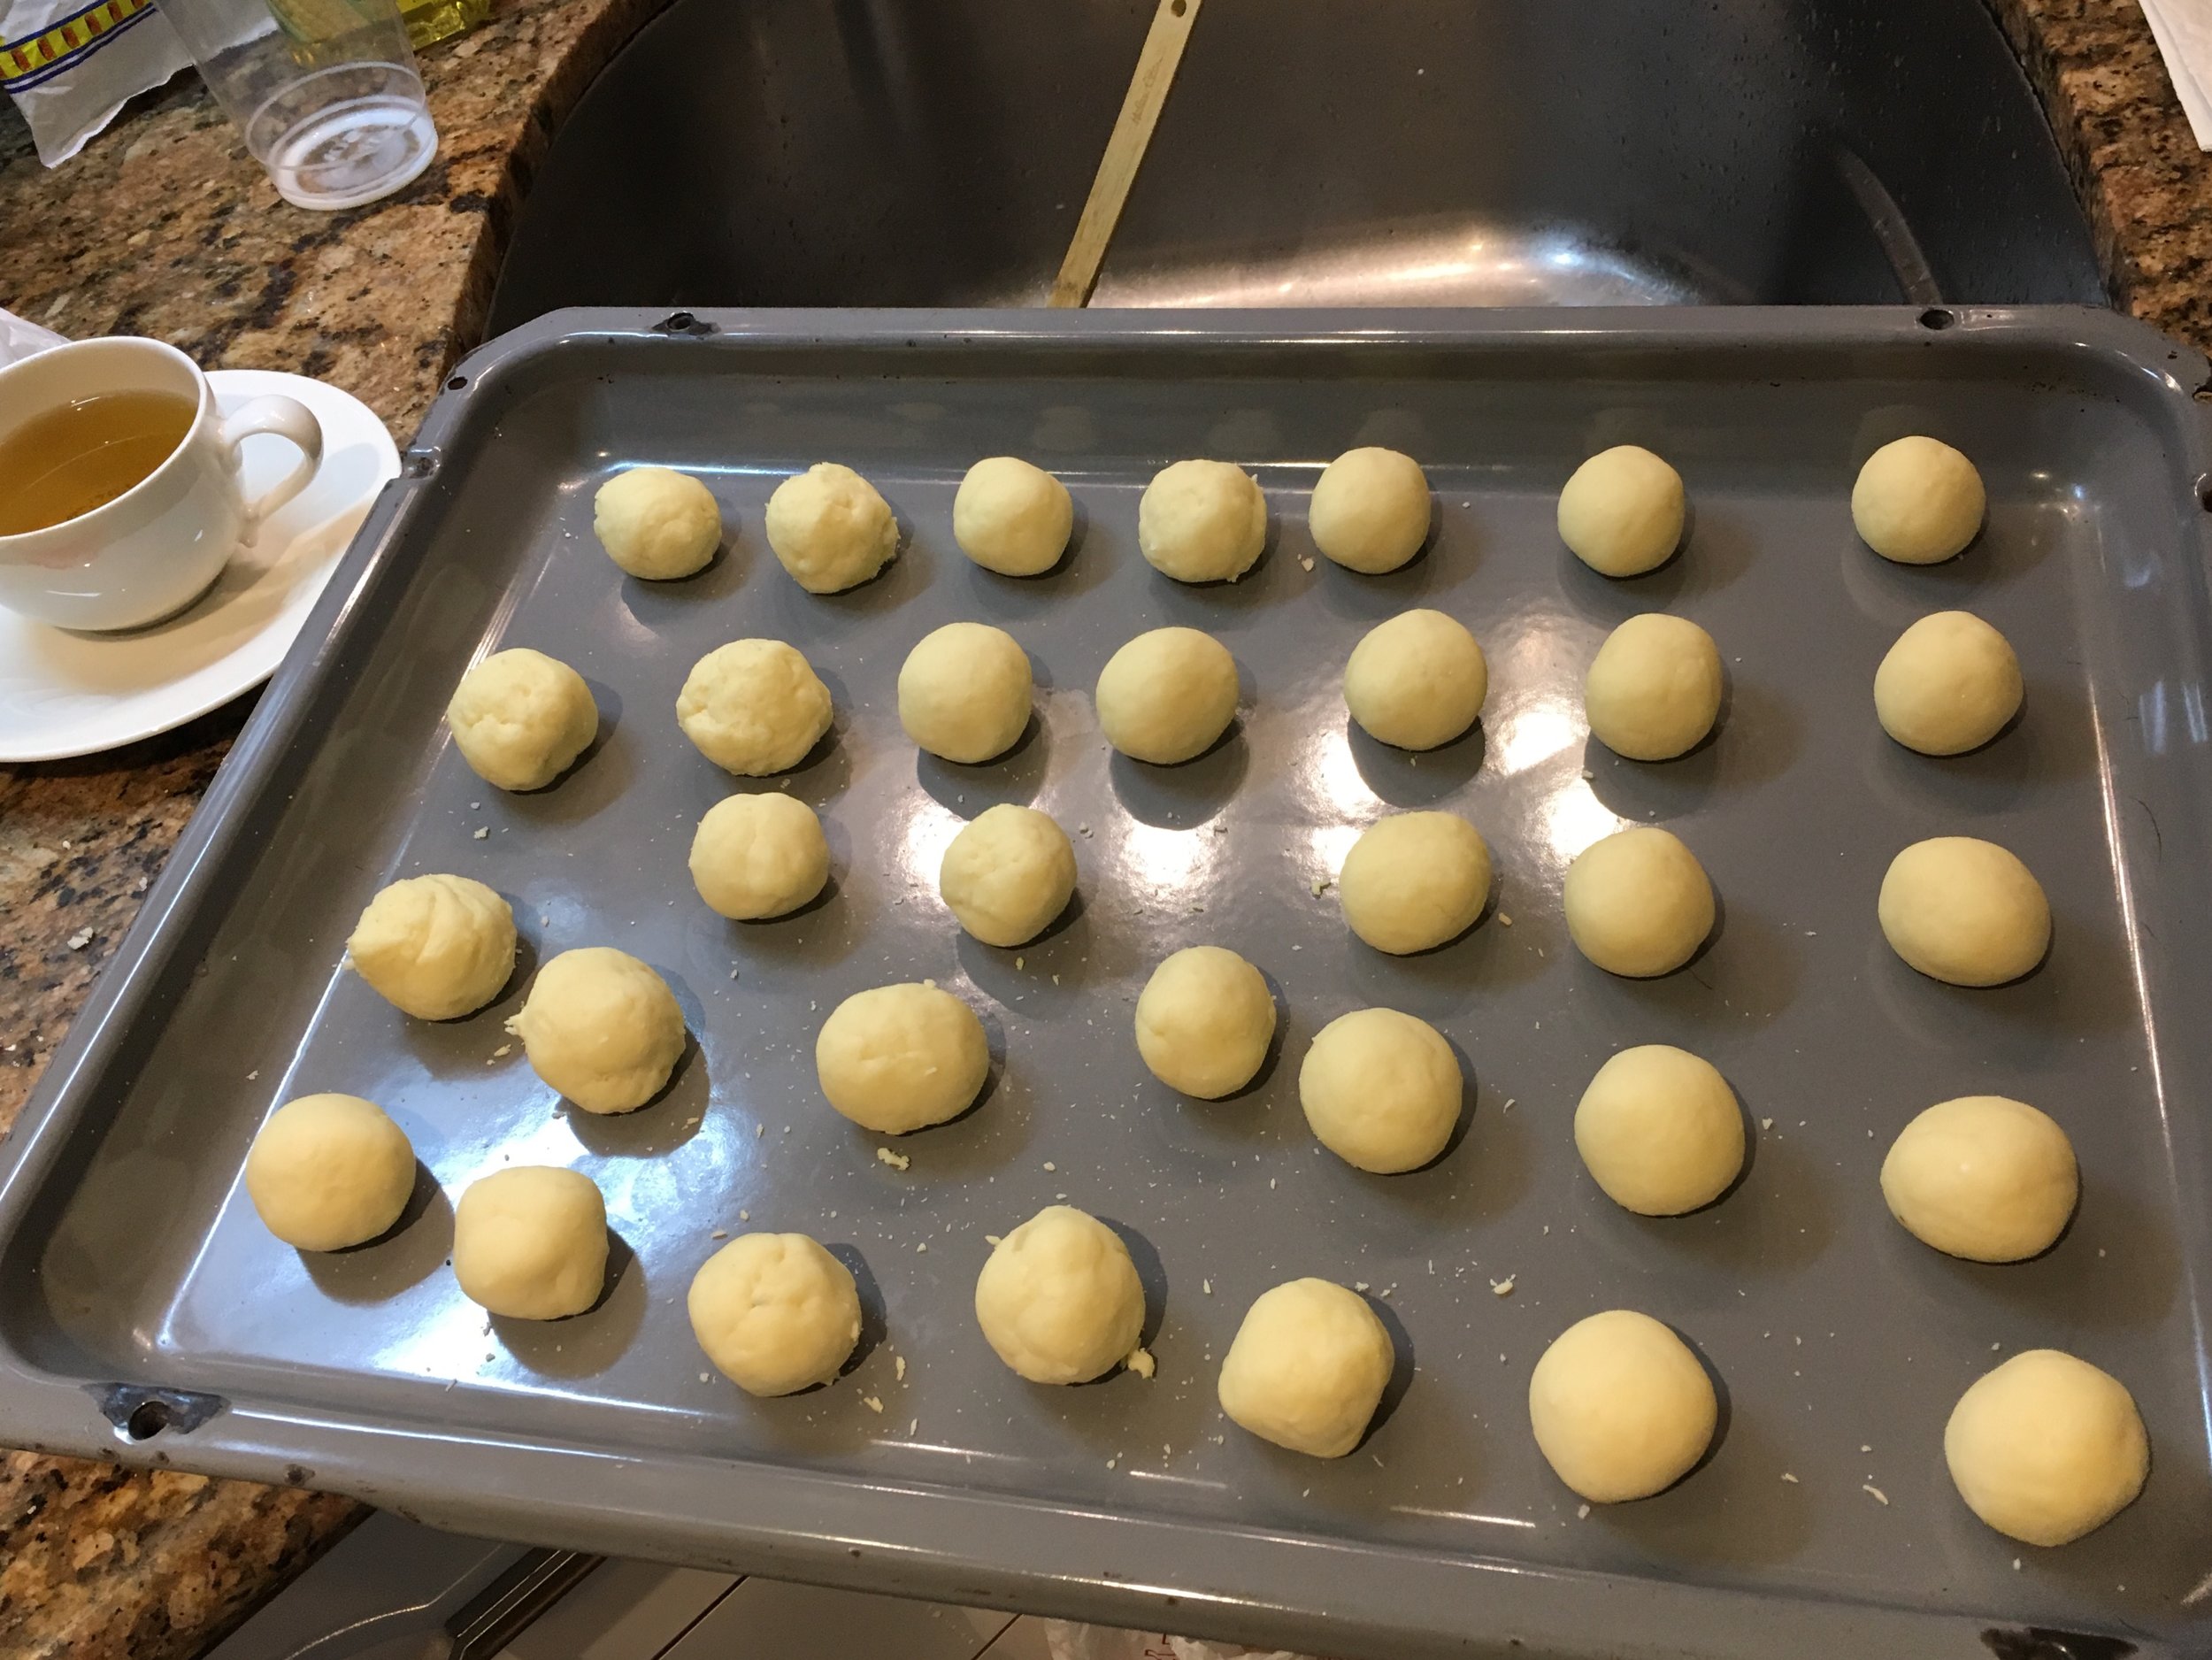
Unlike the breadsticks for which Tina Luisa advised using the "sweet" flour, we used the sour, in fact, we made a whole kilo bag, which I would not advise. Trying to work the milk, oil and egg through the flour takes the strength of an Amazon! I have cut the recipe Tina Luisa used with me in half below. Like the gracious host she was, though, Tina Luisa sent me home with a giant baggy full of dough. I nipped off pieces to make fresh cheese balls every morning of that week. Here are some things I learned both from Tina Luisa and my own experience:
- Tina Luisa tests the dough for saltiness by flattening a ball and throwing it on a frying pan. When it is cooked, she tastes to see if it is salty enough and adjusts the batter accordingly.
- While I thought our rolled balls seemed perfect, ever discerning Tina Luisa said "These are too dry," and cracked yet another egg into the batter, which by that point, we were working with our hands. Better a little too wet than too dry. So when in doubt, add another egg.
- Brazilians will use Minas Curado cheese from Minas Gerais, where TL hails from, but here she uses Pecorino Romano--and quite a lot.
- The cheese makes the raw dough smell disconcertingly like vomit. Just so you know!
- I used the breadstick recipe WITHOUT hot water to and with about a half cup more of flour to make pão de queijo and they tasted lighter and fluffier than the ones TL and I made together.
- For Pão, refrigerate dough that's a little sticky/gluey for a bit, and it will be less so. Refrigerate leftover dough for about a week and you'll enjoy this savory snack for days, but a week's about the limit.
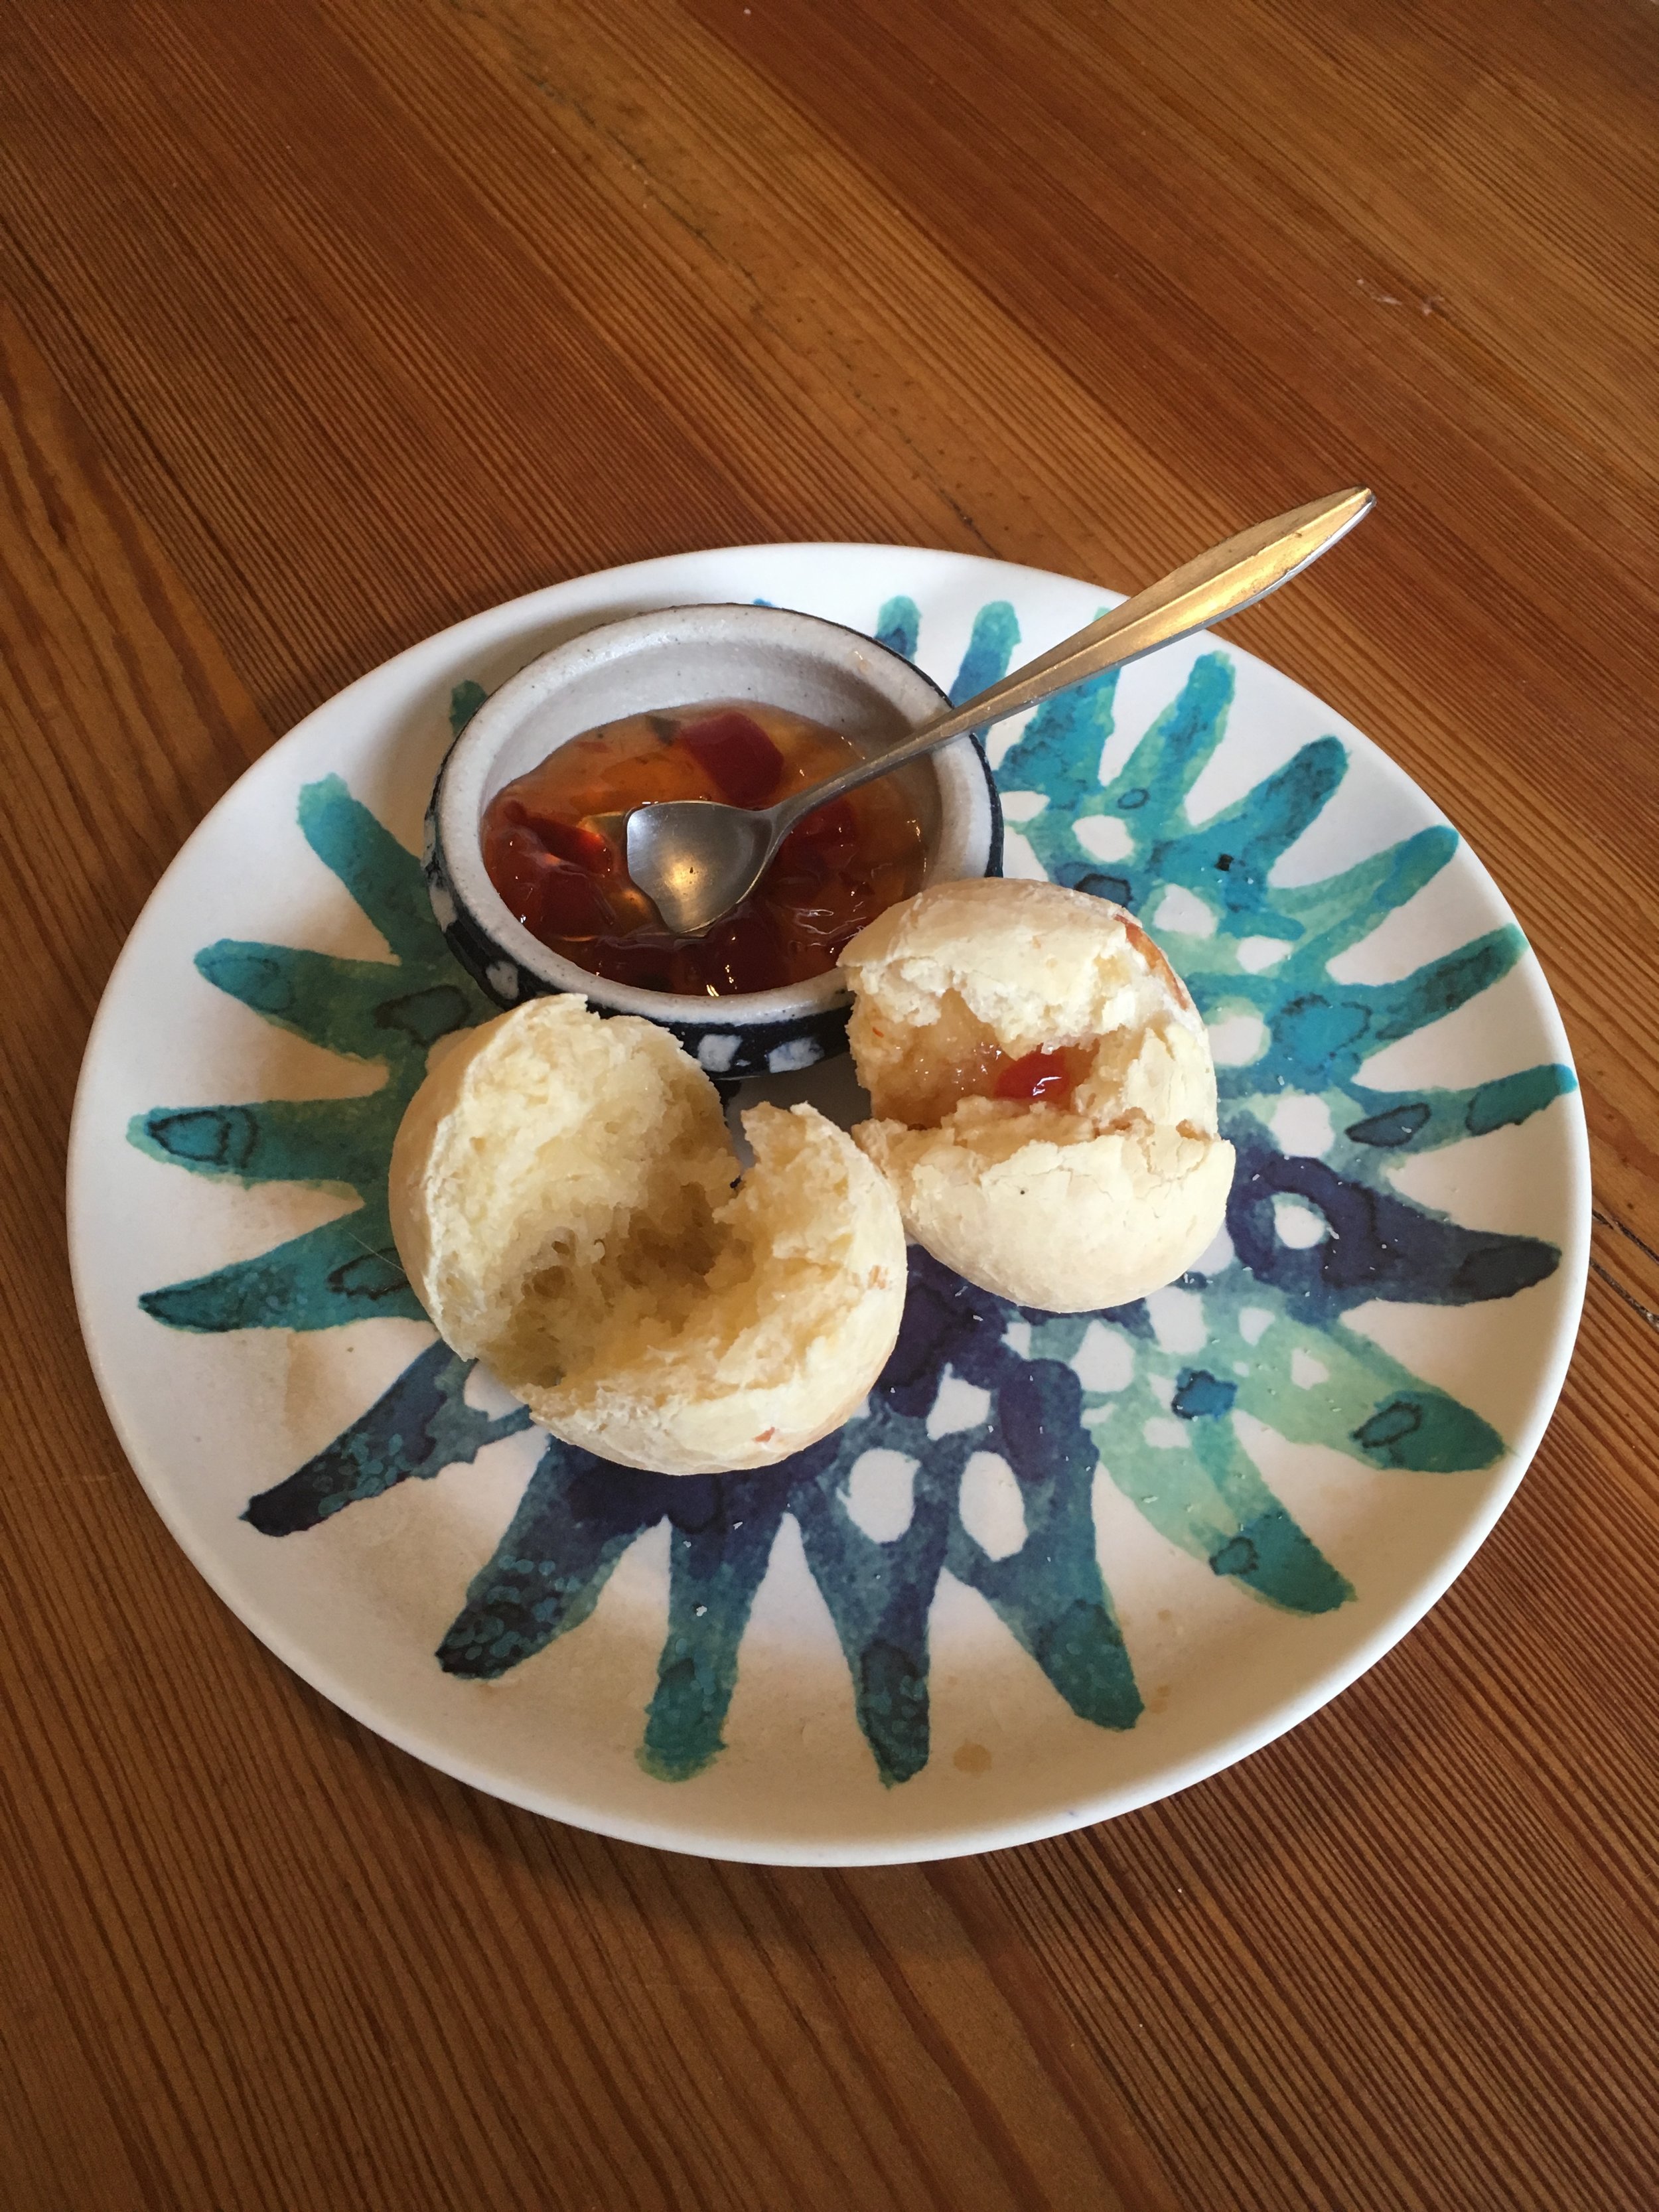
- Trader Joe's red pepper jelly (see Condiment-o-mania) is the perfect sweet foil for the savory balls
- These are the kind of thing that will be an instant hit at the pot luck. Bring alot.
- Pack cooled leftover breadsticks or pão in a tin. Always heat before serving; they're not great cold.
- As TL would say in Portuguese, have a spirit of Tudo Bem--"Everything's OK"--while you're baking. Experiment--add maybe another egg, maybe more flour, maybe a different kind of cheese, such as cheddar, or sprinkle in minced Rosemary or other herbs.
Brazilian Breadstick Recipe
(Preheat oven to 325°)
2 cups of “doce” cassava flour (does it matter whether doce or azedo? Probably not)
½ tsp of salt
1 egg
½ cup vegetable oil
½ cup milk
¼ cup of grated pecorino cheese or more
Mix everything together and add up to about a ½ cup of hot water (no hot water if you're rolling into balls). For best results put batter into pastry tube and extrude in thin lines onto a baking tray. Or you can spoon out in dollops and they will make irregular but tasty puffs. Bake for 25 minutes but TL says keep testing to see if they are right. If you are using this as pão de queijo recipe, then don't add any water. Maybe add enough extra cassava flour so dough is not too sticky. Roll into balls but bake these at 350° for 25 minutes.
Tina Luisa's Pão de Queijo
Preheat oven to 350°
2 cups of azedo cassava flour (again, not sure this really matters whether doce or azedo)
1/4 cup vegetable oil
1 cup milk
3 eggs (or 4)
1/2 tablespoon salt
1/3- 1/2 cup of grated Pecorino Romano cheese
Put milk and oil in saucepan and bring to a boil together. Pour into cassava flour. Mix in, but this will be tough, so you could wait to mix until it cools a little you can use your hands. Add the eggs. Keep mixing with your hands until you can form balls and dough is not too sticky. If you roll a ball and it seems to break, add another egg to the batter. Roll into as many balls as you want and put on baking tray. Cook for 25 minutes. Wrap leftover dough in plastic in fridge. It should keep for a week.
BOM APETITE!